
Working with lists
What is a list?
A list is a collection of items of any type (such as films, contacts, organizations, reviews, viewings, and so on) that you can share with others or use privately. Lists are used for a wide variety of purposes: for review and selection processes, for mail jobs, for exports, for publication of attending delegates, for ticketing, and much more.
A list can be either dynamic or static.
- A dynamic list is based on applied filters. For example, you can create a list of films submitted for the upcoming event from a specific production country. When a new film is submitted that matches these criteria, it will automatically appear in the list.
- A static list contains only manually selected items.
In general, a dynamic list is preferable over a static list, because the filter settings "explain" why it contains those records.
Example uses
Here are some ways to use lists:
Dynamic lists
- Select submitted films with positive ratings (to consider for selection)
- Select films within a certain genre or theme (for a special theme program)
- Compile a mailing list for invited / accredited guests
- Define who has access to a screening room
Static lists
- Create a short list of favorites for a certain program
- Keep a list of reviews that you'd like to discuss with the reviewer
Creating a new list
Dynamic list
There are a couple of ways to create a new dynamic list:
-
Based on an existing list (recommended)
If you are working with any existing list, click on the button to save the current list settings as a new dynamic list. The following aspects are saved:
- Applied filters
- Sort order
- Which columns are shown (and in which order)
- Number of items per page
- Appearance (table or tiles)

Check Save as a new list in the dialog window that appears.
-
Create an unfiltered list
If you want to start with a completely unfiltered list, go to the My lists page and click on the New button. Uncheck Create an (empty) static list.
Static list
There are a couple of ways to create a new static list:
-
From selected items in a list
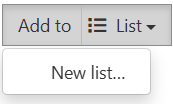
If you are working in any existing list, select the rows you want to put in a list and click on the "Add to List" dropdown button, located above the table. In the dropdown menu that appears, click New list…:

-
Start with an empty list
Go to the My lists page and click on the New button. Leave Start with an empty list checked.
-
From a detail page
If you are on a detail page, locate the List dropdown button and click on it. In the dropdown menu that appears, click on the New list… item.
Customizing the appearance of your list
Columns and filters
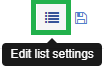
Use the filters on the left-hand panel to narrow down the list. To control which columns and filters are shown in a list, look for this button:
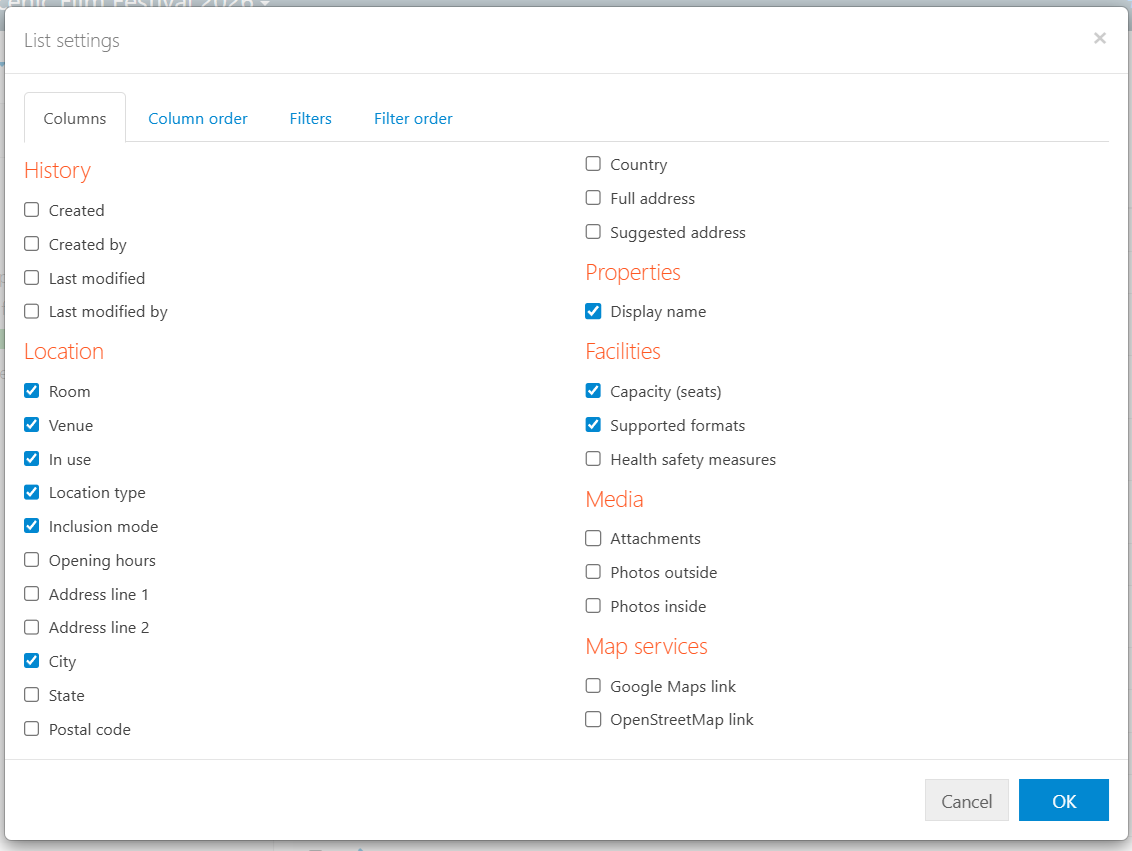
The dialog window that appears is organized in four tabs:
- Columns – change the visibility of columns
- Column order – reorder columns
- Filters – control which filters are available on the Filters panel
- Filter order – reorder the filters on the Filters panel
Columns
Just select the columns that you want to bring into view, and uncheck the ones you don't need.
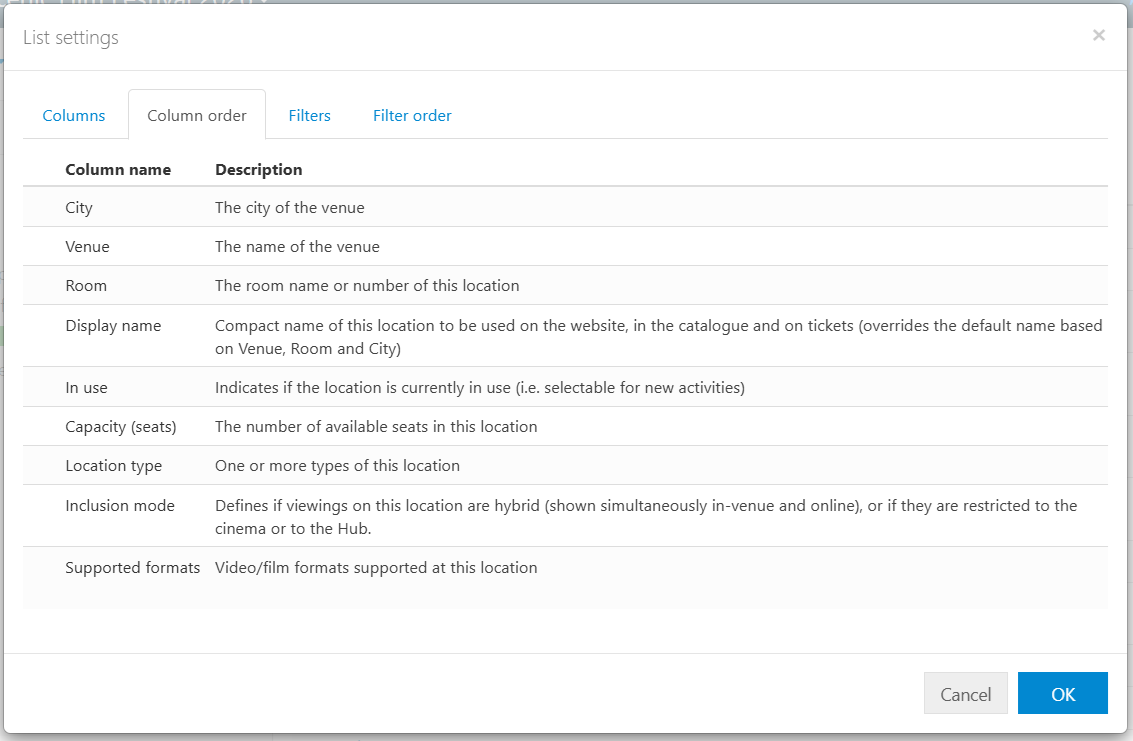
Column order
Control the presentation order of columns by dragging the names up or down.
Filters
Just select the filters that you want to include on the Filters side panel, and uncheck the ones you don't need.
Filter order
Control the presentation order of filters on the Filters panel by dragging the names up or down.
Other list appearance settings
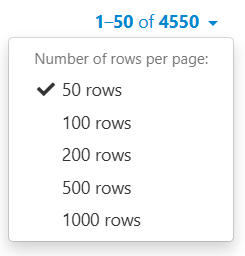
You can also change the number of displayed rows per page:
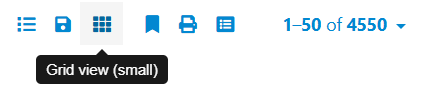
Lastly, you can change the standard table view to tiles, using this button:
Saving and sharing your list
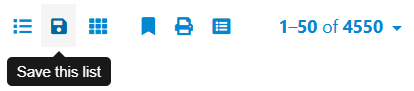
Click this button to save your (dynamic) list, and optionally share it with your colleagues:
In the dialog window that appears, you can enter the following details:
- Name – the name of the list.
- Description – description of the list. If you are sharing this list with your team, it is important to write a clear description of the list: its purpose, how and when to use it.
- Share this list with – select roles and/or users who can access this list. All people you share the list with will receive a notification message.
- Show on home page? – check to show the list on your Filmchief home page
You can find your own lists, as well as any lists that others have shared with you, under the LISTS section of the main sidebar:
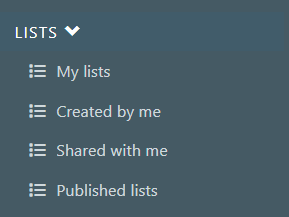
- My lists – All lists that you have access to. These include the lists that you created and the ones your colleagues have shared with you.
- Created by me – Only your own lists.
- Shared with me – Only lists that others have shared with you.
- Published lists – Lists that have been made accessible externally; see below.
Publishing your list
After having saved your list, you can publish it. Publishing a list makes it accessible to (certain) external guests. A common example of a published list is a delegates list.
Click this button to go to the list details page:

On this page, you will find the following details:
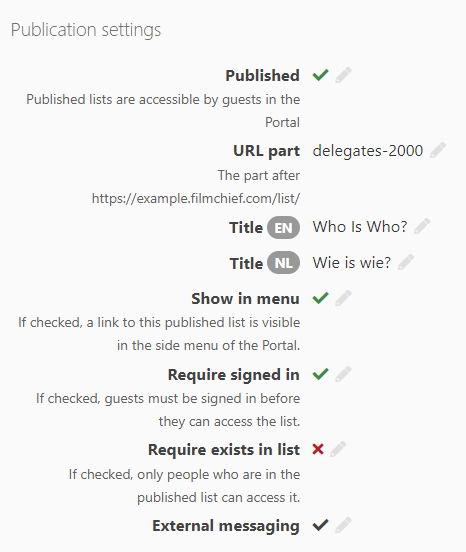
- Published – checking this makes the list published
- URL part – this defines the URL of the published list; it is the part of the URL after
https://«FESTIVAL IDENTIFIER».filmchief.com/list/ - Title – title of the list as shown in the Portal, in the active languages of your festival
- Show in menu – if checked, a link to this published list is visible in the side menu of the Portal.
- Require signed in – if checked, guests must be signed in to access the published list.
- Require exists in list – if checked, only people who are included in the published list can access it. This setting requires Require signed in to be checked as well.
- External messaging – if checked, signed in guests can send a message to people in the published list, while keeping the email address private. Similarly, a received message can be answered without disclosing the email address of either party.
Note: To use external messaging, the Messaging service for guests module must first be enabled in the System Settings:

Exporting data
Any list can be exported to Excel, CSV or tab-separated text files. It’s also possible to export media to a zip file.
Exporting data is really straightforward: just click on the Export button above the list and select the output format. In the dialog window that appears, enter the output file name. If you have rows selected, only those rows are exported.